The Right Pizza Toppings Order for a Crispy, Flavorful Pie
Discover the perfect pizza toppings order for a crispy, flavorful pie. Control moisture and elevate every bite with this essential guide.
The sequence that works every time: dough, then a thin layer of sauce, then your structural cheese, then cured meats or proteins, then any firm pre-cooked vegetables, then soft cheeses, and finally fresh herbs and finishing oils after the pizza comes out of the oven. That order exists for a reason. It controls moisture, protects your crust, and makes sure every ingredient gets the heat it actually needs.
Here is the quick-reference sequence:
- Dough (stretched, room temperature)
- Sauce (thin, spread to within half an inch of the edge)
- Hard or low-moisture cheese (mozzarella, Parmesan, Pecorino)
- Cured meats or pre-cooked proteins (pepperoni, salami, par-cooked sausage)
- Firm, pre-roasted vegetables (peppers, mushrooms, onions)
- Soft cheeses (fresh mozzarella, burrata, goat cheese)
- After baking: fresh basil, arugula, finishing olive oil, prosciutto
King Arthur Baking instructors and The Dough Academy both arrive at essentially the same sequence, which tells you this is not opinion. It is physics.
Table of Contents
- Why does topping order matter for your pizza?
- What is the step-by-step pizza toppings order?
- How should you prep toppings before they go on the pizza?
- How do you get proper browning and a crisp crust at home?
- What are the most common pizza topping mistakes?
- Doughdorks pro tips for Neapolitan-style dough
- Key Takeaways
- The topping order most people get wrong
- Why Doughdorks makes these techniques easier at home
- Useful sources and further reading
Why does topping order matter for your pizza?
Assembly order changes where steam goes, how fat renders, and how the crust sets during the bake. Put a pile of raw mushrooms directly on your dough and the water they release has nowhere to go except straight down into the crust. The result is a gummy, pale center that no amount of extra bake time fully rescues.
A few core principles drive every rule in this article:
- Moisture management: Wet toppings sitting on raw dough release steam that softens the base. Cheese placed between the sauce and the toppings acts as a partial moisture barrier, slowing that transfer. Pre-roasting vegetables removes most of their water before they ever touch the dough.
- Heat exposure and browning: Ingredients on top of the pizza get direct radiant heat from the oven ceiling and broiler. Toppings buried under cheese brown less and steam more. Fatty meats like pepperoni belong on top so their edges crisp and their fat bastes the pie as it renders.
- Weight and structure: A home oven typically runs at a lower temperature than a wood-fired Neapolitan oven. Heavy topping loads press down on the dough and prevent the center from puffing and setting. JayArr Pizza’s breakdown of Gemignani’s assembly method makes the structural argument clearly: the sequence is not tradition, it is engineering.
- Flavor layering: Salt and umami come from cured meats and aged cheeses in the middle of the build. Bright, acidic, and fresh notes (herbs, lemon zest, arugula) go on after baking so heat does not destroy them. Layering in that order means you taste complexity rather than a single muddled note.
What is the step-by-step pizza toppings order?
Here is the full sequence with the reasoning baked in.
-
Stretch your dough and let it rest. Cold dough tears. Pull it from the fridge at least 30 minutes before you build. For Doughdorks’ 48-hour Neapolitan pizza dough by weight, room temperature is non-negotiable — the long fermentation creates a delicate gluten structure that needs to relax before stretching.
-
Apply sauce thinly. A thin, light layer is enough for a 10–12 inch pie. Thick sauce adds moisture and weight. Spread it with the back of a spoon in a spiral, stopping well short of the edge so the cornicione (the outer crust) can puff freely.
-
Add your structural cheese. Low-moisture mozzarella, Parmesan, or Pecorino goes on now. This layer seals the sauce and creates a fat-and-protein barrier that slows moisture migration upward into your toppings and downward into your dough.
-
Place cured meats and pre-cooked proteins. Pepperoni, salami, and 'nduja go directly on the cheese. Serious Eats makes the case well: cured meats are forgiving because they render fat and crisp at the edges during the bake, seasoning the whole pie as they cook. Pre-cooked sausage or bacon goes on at this stage too, after you have drained off excess fat.
-
Add firm, pre-roasted vegetables. Roasted peppers, caramelized onions, and sautéed mushrooms go on top of the meat layer. Raw at this stage means soggy at the table.
-
Finish with soft cheeses. Fresh mozzarella, dollops of ricotta, or crumbled goat cheese go on last before the oven. They need less heat than hard cheeses and will turn rubbery if they bake the whole time.
-
Post-bake garnishes only. Fresh basil, baby arugula, a drizzle of extra virgin olive oil, and paper-thin prosciutto all go on after the pizza comes out. Heat destroys the volatile aromatics in fresh herbs and wilts delicate greens into mush.
According to Homemade Pizza School’s analysis of topping placement, whether a topping goes above or below the cheese depends on its fat content and burn risk. Fatty toppings belong on top to crisp. Thin, burn-prone items like anchovies or thin-sliced garlic often do better tucked under the cheese where they are shielded from direct heat.
When to break the rules: style exceptions
Detroit-style pizza places cheese directly on the dough, pressed to the pan edges so it fries and caramelizes. Sauce goes on top of everything, added in stripes after the cheese and toppings. Chicago deep-dish reverses the order entirely: cheese on the dough, then toppings, then sauce on top to prevent burning during the long bake. Grandma-style pies often use a cheese-down approach similar to Detroit. These are not mistakes. They are structural solutions for specific dough thicknesses and bake times, as JayArr Pizza explains in its style-by-style breakdown.
Three example builds
Classic pepperoni: Sauce, low-moisture mozzarella, pepperoni on top. Nothing else. The pepperoni cups and crisps, its fat pools in the center of each cup, and the cheese browns around it. Thrillist’s ranking of pizza toppings calls pepperoni the most forgiving topping on a pizza, and the fat-salt-crisp combination is exactly why.
Roasted vegetable and goat cheese: Sauce, low-moisture mozzarella, pre-roasted zucchini and peppers, crumbled goat cheese on top. The goat cheese softens and browns at the edges without overcooking because it goes on last.
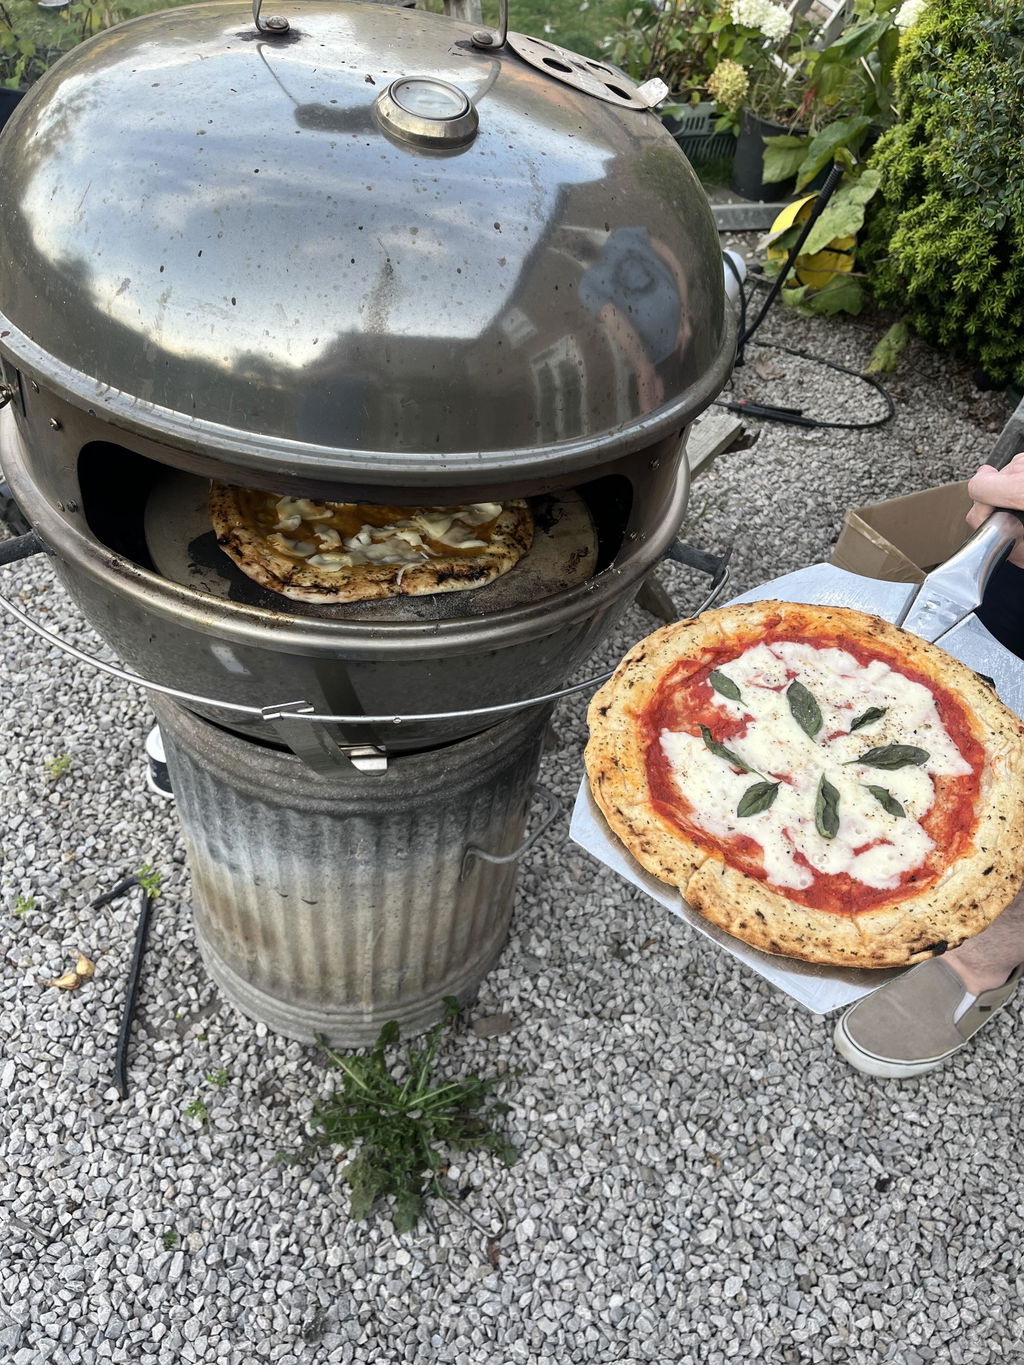
Margherita: Sauce, thin-sliced fresh mozzarella, a few drops of olive oil before baking, whole fresh basil leaves after baking. The simplicity demands good ingredients and a hot oven.
Pro Tip: For the Margherita, tear the basil and lay it on the moment the pizza comes out of the oven. The residual heat wilts it gently without turning it black.
How should you prep toppings before they go on the pizza?
Prep is where most home cooks lose the game before the pizza even hits the oven.
Vegetables
High-water vegetables — zucchini, mushrooms, peppers, onions, spinach — must lose most of their moisture before they go on the pie. The method that works best is roasting them on a sheet pan at 400°F for 15–20 minutes while your oven preheats. Toss them in a little olive oil and salt first. The salt draws out water; the heat evaporates it. If you are short on time, a quick sauté in a dry pan until they just start to color achieves the same result.
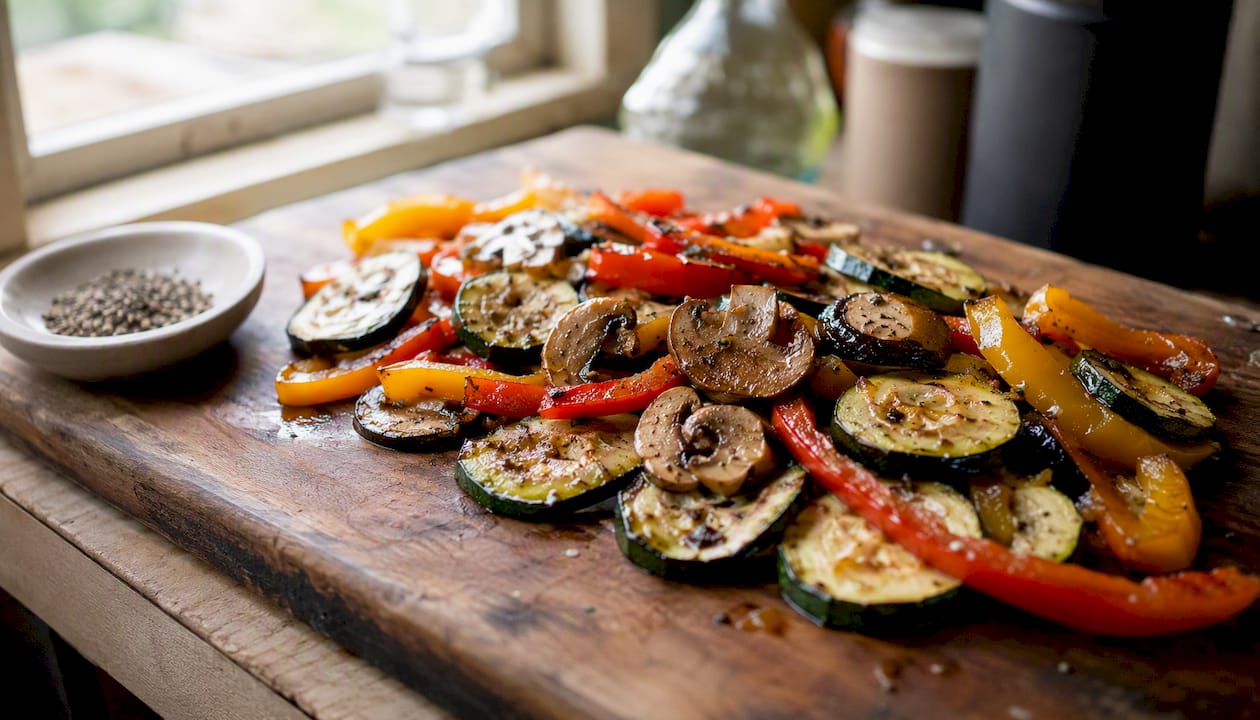
For a faster option, blanching vegetables briefly before roasting can speed up the moisture-removal process, particularly for dense vegetables like broccoli or cauliflower. After any pre-cooking method, pat the vegetables dry with paper towels before assembly.
King Arthur Baking specifically warns that raw watery vegetables make the crust gummy, and recommends roasting them while the oven preheats so you lose no extra time. That is the move. That Pizza Kitchen takes it further, arguing that vegetables deserve to be treated as primary ingredients — roasted and seasoned to develop sweetness and texture, not thrown on raw as an afterthought.
Meats
Cured meats (pepperoni, salami, soppressata, 'nduja) need zero prep. They go straight from the package onto the cheese. Raw sausage is a different story. Crumble it into a cold pan, cook until just done, and drain the fat before it goes on the pizza. Bacon should be par-cooked to about 70% done — it finishes in the oven without drying out. Chicken and other lean proteins should be fully cooked before they go on, since a 10-minute pizza bake is not long enough to safely cook raw poultry through.
Cheese
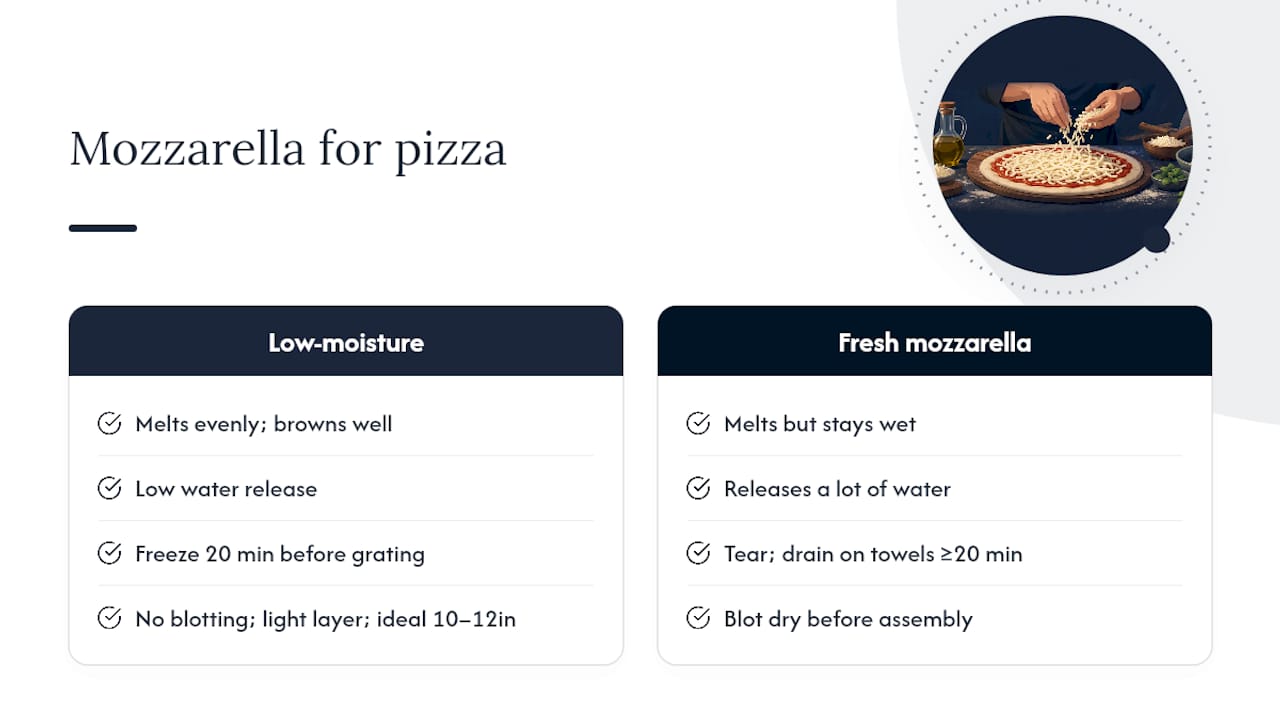
Low-moisture mozzarella is the workhorse. It melts evenly, browns well, and does not release much water. Fresh mozzarella is beautiful but wet. If you use it, tear it into pieces and let it drain on paper towels for at least 20 minutes before assembly. Better yet, blot it dry right before it goes on.
Pro Tip: Freeze your low-moisture mozzarella block for 20 minutes before grating. It grates cleanly without clumping and distributes more evenly across the pie. For guidance on which mozzarella works best for different pizza styles, Doughdorks has a detailed mozzarella guide for home cooks.
For portion guidance: a light, even layer of cheese that you can still see the sauce through is about right. A thick blanket of cheese traps steam and prevents the crust from crisping. A light, even layer of shredded low-moisture mozzarella that still lets you see the sauce through it is ideal for a 10–12 inch pie.
How do you get proper browning and a crisp crust at home?
Home ovens are the biggest obstacle. Most top out at 500–550°F, while a Neapolitan wood-fired oven runs at 900°F or hotter. You can close some of that gap with the right setup.
- Preheat your oven with a steel or stone inside for at least 45 minutes to ensure it reaches the right temperature. A cold stone does nothing. The thermal mass needs to be fully saturated with heat before the pizza lands on it.
- Use the highest rack position for browning the top. The closer the pizza is to the oven ceiling, the more radiant heat hits the cheese and toppings. For a crispier base, start on a lower rack and move up for the final two minutes.
- Broiler finish: Once the crust is set and the cheese is melted, switch to the broiler for 60–90 seconds. Watch it constantly. The difference between perfectly spotted and burnt is about 30 seconds.
- If toppings are not browning: Your oven may not be hot enough, or the pizza is too low. Move it up one rack and give it another two minutes before broiling.
- If the crust is undercooked but the top looks done: Your stone or steel was not hot enough, or the pizza was too high. Pull the pizza, let the stone reheat for 10 minutes, and try again with the next pie on a lower rack.
- Convection mode circulates hot air and speeds browning on both the top and bottom. If your oven has it, use it — reduce the temperature by about 25°F to compensate.
What are the most common pizza topping mistakes?
Most soggy, undercooked, or flavorless pizzas trace back to a short list of errors.
- Overloading toppings. More is not more. Heavy topping loads prevent the crust from setting and add so much moisture that no home oven can compensate. If you can barely see the cheese under the toppings, you have gone too far.
- Raw watery vegetables. Mushrooms, zucchini, and peppers release a surprising amount of water during baking. Pre-roast them every time without exception.
- Too much sauce. Sauce is flavor, not structure. A thin, even layer is all you need. Pooling sauce in the center is one of the fastest routes to a soggy middle.
- Fresh mozzarella straight from the package. It is packed in water. Drain it, blot it, and use it sparingly.
- Delicate herbs baked in. Fresh basil, parsley, and arugula turn black and bitter in a hot oven. They go on after baking.
Rescue moves mid-bake or after:
- Soggy center after baking? Slide the pizza off the pan directly onto the oven rack for two minutes to crisp the base.
- Toppings not browning? Hit them with the broiler for 60–90 seconds.
- Too much moisture pooling on top? Dab gently with a folded paper towel before serving.
- Crust pale and soft? Your stone was not hot enough. Par-bake the crust for 3–4 minutes before adding toppings next time.
Doughdorks pro tips for Neapolitan-style dough
Neapolitan dough behaves differently from a thick pan dough, and the topping order matters even more because of it.
Doughdorks’ 48-hour fermented dough develops a delicate, open crumb structure through long fermentation. That structure is what gives you the characteristic airy cornicione and the slight char on the base. Load it too heavily and you crush that structure before it has a chance to puff. Two or three toppings maximum on a Neapolitan-style pie is not a rule of restraint — it is what lets the dough do its job.
- For heavily topped pies, use a pre-cooked base. Doughdorks’ pre-cooked Neapolitan bases are already set and partially baked, so they can handle more toppings without going soggy. The topping order stays the same, but you gain more flexibility on quantity.
- For sourdough dough balls — , the slightly denser crumb tolerates a touch more topping weight than a straight-yeast Neapolitan dough, but the same moisture rules apply.
Pro Tip: If you are using Doughdorks’ curated pizza toppings, the charcuterie and cheeses are selected to work with Neapolitan-style dough — they are portioned and cured to the right intensity so you do not need much of each to get full flavor.
Key Takeaways
The single most reliable rule for better homemade pizza: apply toppings in the right order, prep watery ingredients before they touch the dough, and use less than you think you need.
| Point | Details |
|---|---|
| Follow the layered sequence | Build in this order: sauce, hard cheese, cured meats, pre-roasted veg, soft cheeses, then post-bake garnishes. |
| Pre-roast watery vegetables | Roast mushrooms, zucchini, and peppers at 400°F for 15–20 minutes before assembly to prevent a soggy crust. |
| Less is more | Heavy topping loads prevent crust from setting in a home oven; two to three toppings on a Neapolitan-style pie is the target. |
| Know the style exceptions | Detroit, Chicago, and Grandma-style pizzas deliberately reverse the cheese and sauce order for structural reasons. |
| Doughdorks for ready-to-use dough and bases | Doughdorks’ 48-hour dough balls and pre-cooked Neapolitan bases are built to work with these topping rules straight out of the box. |
The topping order most people get wrong
The conventional wisdom says “pile on what you love.” That is fine advice for a sandwich. For pizza, it is the reason most homemade pies come out pale, soft, and forgettable.
What I find genuinely underappreciated is how much the order matters even when the ingredients are good. You can buy excellent fresh mozzarella, beautiful San Marzano tomatoes, and top-quality pepperoni, and still produce a mediocre pizza if the mozzarella goes on wet, the sauce goes on thick, and the herbs go on before baking. The ingredients are not the problem. The sequence is.
My two go-to builds both follow the rules tightly. The first is a stripped-down pepperoni: thin sauce, a moderate layer of low-moisture mozzarella, pepperoni on top, nothing else. The second is a white pie with pre-roasted garlic, sautéed mushrooms, and a few dollops of ricotta added in the last two minutes of baking, finished with lemon zest and fresh thyme after it comes out. Both pies work because every ingredient is placed where it performs best, not just where it fits.
The one time I actively encourage breaking the rules is when you are chasing a specific texture. A Detroit-style pie with cheese pressed to the pan edges and sauce on top is not a mistake — it is a different, equally valid outcome. Know why the rules exist, and then you can break them with intention.
Why Doughdorks makes these techniques easier at home
Getting the topping order right is straightforward once you have dough that behaves predictably. Doughdorks’ 48-hour Neapolitan dough balls are made with Italian 00 flour, fresh yeast, and extra virgin olive oil, fermented for two full days so the gluten structure is relaxed and the flavor is already developed. You stretch, top lightly using the sequence above, and bake. The dough does the rest.

For nights when you want to load up on toppings without worrying about a soggy base, the pre-cooked Neapolitan bases take that variable off the table entirely. The crust is already set. Add your toppings in the right order, bake until the cheese browns, and you get a crisp result every time. Browse the full range at Doughdorks and pick the dough or base that fits your pizza night.
Useful sources and further reading
- How to add pizza toppings — the right way | King Arthur Baking
- How to Build a Pizza: Sauce, Cheese, and Topping Order | JayArr Pizza
- A pizza snob’s approach to toppings | Serious Eats
- What Is the Topping Order for Pizza? (The Final Answer) - The Dough Academy
- Should We Put Pizza Toppings Above or Below the Cheese? | Homemade Pizza School
- The Ultimate Guide to Pizza Toppings (From Classic to Wild) - That Pizza Kitchen
- The Definitive Ranking of Every Pizza Topping - Thrillist
- Dough Dorks
Recommended
- Best Cheeses for Pizza: A Home Cook’s Guide
- Shop Pizza Toppings
- Shop Pre-Cooked Pizzas
- Shop Pizza Dough Balls
PIZZA NIGHT, SORTED
Build the pizza with proper Italian ingredients
Shop Italian toppings, then add 48-hour fermented dough balls from Dorset for a complete pizza night.
-
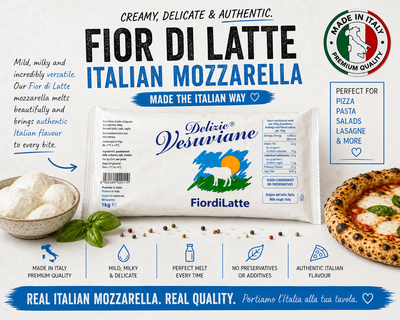 Fior di Latte Mozzarella for Pizza – 1kg
£12.59
Fior di Latte Mozzarella for Pizza – 1kg
£12.59
-
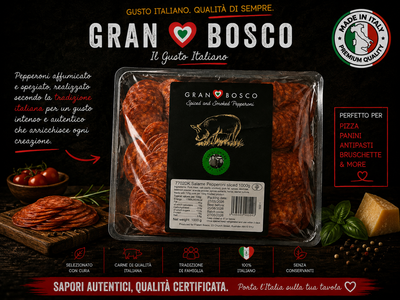 Gran Bosco, Smoked Sliced Pepperoni – 1kg
£18
Gran Bosco, Smoked Sliced Pepperoni – 1kg
£18
-
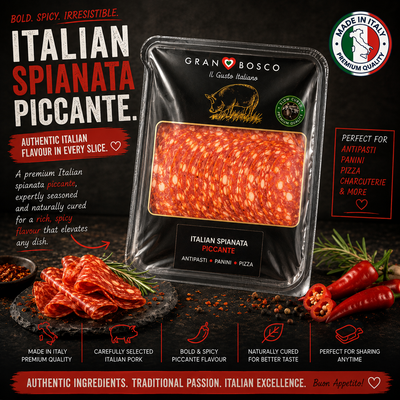 Gran Bosco - Italian Spianata Piccante 250g
£8.10
Gran Bosco - Italian Spianata Piccante 250g
£8.10
Handmade in Dorset • Free UK delivery on £50+ • Free proofing pot with every dough ball