Neapolitan Pizza Dough: Authentic Recipe for Home Ovens
Master authentic Neapolitan pizza dough with this easy recipe. Create puffy, flavorful pizzas right in your home oven!
Here is the complete recipe, up front. Two dough balls of appropriate size, ready to bake into 11–12 inch pizzas with a puffy cornicione, leopard spotting on the crust, and a soft, airy center.
| Ingredient | Grams | Baker’s % |
|---|---|---|
| Tipo 00 flour | 500 g | — |
| Water (65°F–68°F) | 325 g | 65% |
| Fine sea salt | 14 g | 2.8% |
| Instant yeast | 0.4 g | — |
| Yield | 2 × 260–270 g balls |
Target dough temperature (Td) after mixing: 73°F–77°F (23°C–25°C). Bake on a preheated baking steel or pizza stone at your oven’s maximum (ideally 500°F–550°F) for 5–8 minutes, finishing under the broiler for the last 60–90 seconds. The AVPN (Associazione Verace Pizza Napoletana) specifies a wood-fired bake at 430–480°C for 60–90 seconds; a home oven can’t match that heat, but the right dough and technique close the gap considerably. Baker’s percentages let you scale the recipe up or down without losing the ratios. Doughdorks uses these same proportions for its 48-hour fermented dough balls if you want a shortcut to the same result.
Success looks like: a cornicione (outer crust) that puffs 1–2 inches tall, dark leopard spots on the underside and rim, a center thin enough to fold, and a crumb that tears open to reveal irregular air pockets.
Table of Contents
- What flour, water, yeast, and salt should you use for Neapolitan pizza dough?
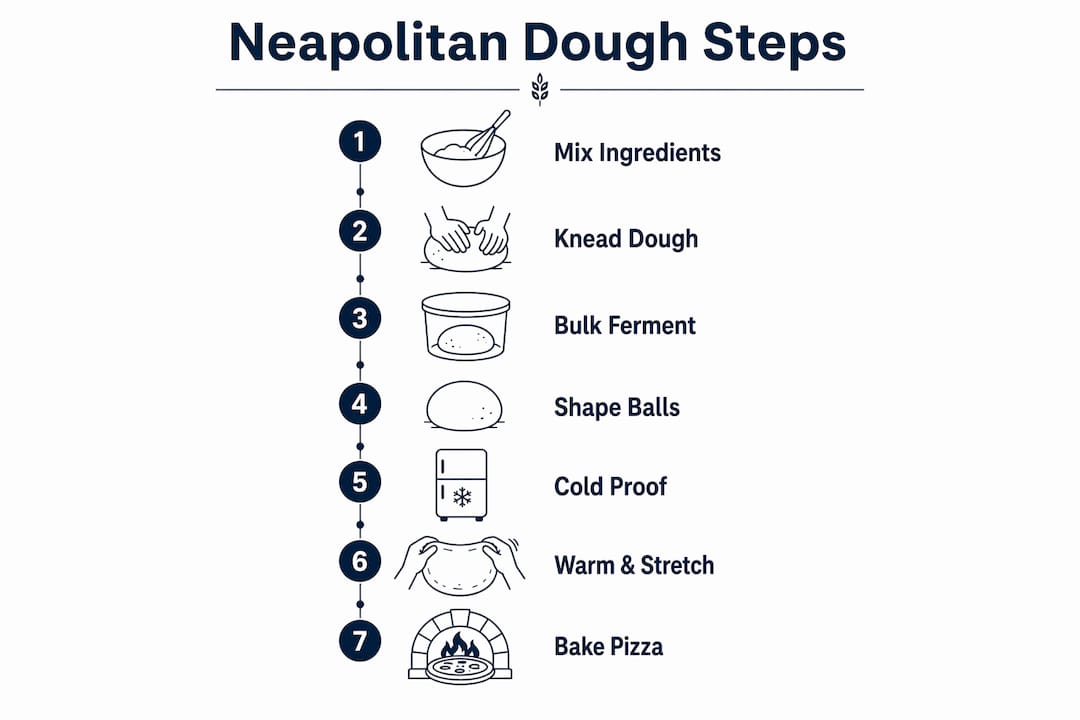
- How do you make Neapolitan pizza dough step by step?
- How do you mix, knead, and control dough temperature?
- How do you bulk ferment, shape, and proof Neapolitan dough?
- How do you bake Neapolitan pizza in a home oven?
- What are the most common Neapolitan dough mistakes and how do you fix them?
- What tools and ingredients do you need for authentic results in the U.S.?
- Why does long fermentation make Neapolitan pizza taste better?
- Key Takeaways
- Home ovens can get you closer than you think
- Skip the wait when you need great dough tonight
- Useful sources and further reading
What flour, water, yeast, and salt should you use for Neapolitan pizza dough?
Flour: Tipo 00 vs. bread flour vs. all-purpose
Flour is where most home bakers make their first mistake. Tipo 00 refers to the grind fineness, not protein content alone. What matters for Neapolitan dough is the W-value, a measure of flour strength. The AVPN recommends a W-value of 260–270, which supports the elasticity and gas retention needed for a rapid high-heat bake. Caputo “00” Pizzeria (the blue bag) and King Arthur 00 Pizza Flour are both widely available in the U.S. and fall in or near that range. Generic all-purpose flour has a W-value well below 200 and will produce a noticeably denser, less extensible crust.
Bread flour is a workable substitute when 00 isn’t available. Its higher protein content (12–13%) builds enough gluten for a decent cornicione, though the texture is slightly chewier and less delicate than true 00. If you use bread flour, drop hydration by about 2–3% since it absorbs water differently.
Pro Tip: Buy Caputo 00 in the 2.2 lb bag from a restaurant supply store or online. It’s significantly cheaper per pound than the small retail bags and keeps for months in a sealed container.
Water: temperature, quality, and its effect on fermentation
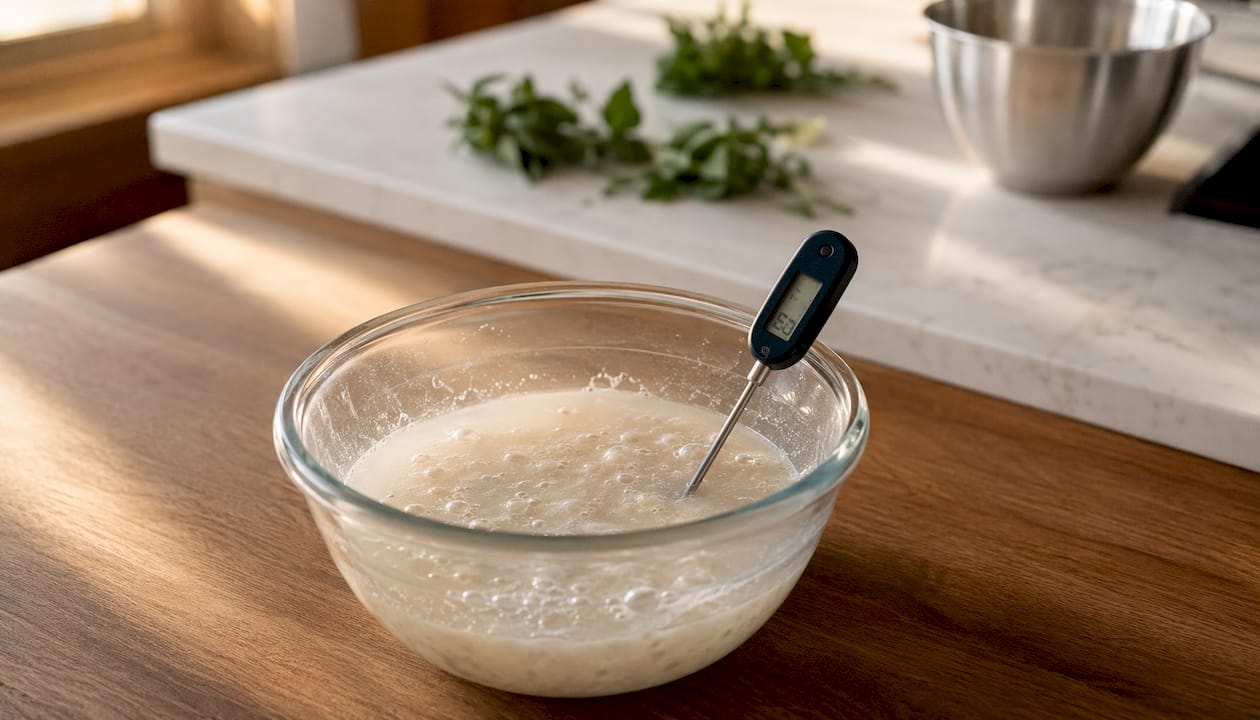
Water temperature directly controls your Td. Cold tap water slows yeast activity; water above 80°F can kill it. For a 65% hydration dough mixed at room temperature, aim for water around 65°F–68°F. If your kitchen runs warm (above 75°F), use cooler water to keep the Td in the 73°F–77°F window. Filtered or bottled water is worth using if your tap water is heavily chlorinated, since chlorine can inhibit yeast. Hard water with high mineral content can actually strengthen gluten slightly, which is why Naples’s water is often cited as a factor in authentic pizza flavor.
Yeast: instant, active dry, and fresh
For long cold fermentation, you want very little yeast. The AVPN recommends as little as 0.1–3 g of fresh yeast per 1,000 ml of water for long retards. In practical terms for a two-ball batch, that means roughly 0.4 g of instant yeast (about 1/8 teaspoon). SAF Instant Yeast is the most reliable and widely available option in the U.S. and can be added directly to flour without proofing. Active dry yeast works but needs to be dissolved in warm water first and requires about 25% more by weight. Fresh yeast gives the most nuanced flavor but is harder to find and has a short shelf life.
| Yeast type | Conversion (relative to instant) | Notes |
|---|---|---|
| Instant (SAF) | 1× | Add directly to flour |
| Active dry | — | Dissolve in water first |
| Fresh | 3× | Short shelf life; best flavor |
Salt: type, quantity, and why it matters beyond taste
Salt tightens gluten structure, slows fermentation slightly, and controls how extensible the dough becomes. At 2.8% (14 g per 500 g flour), you get a dough that holds its shape without being tough. Fine sea salt dissolves evenly; coarse kosher salt can work but dissolve it fully in the water before adding flour. Never add salt directly onto yeast. Salt inhibits yeast activity on contact, which is why the AVPN mixing order dissolves salt in water first, before yeast ever touches it.
Pro Tip: Use a dough calculator to scale baker’s percentages for any batch size. Changing the yield from 2 balls to 6 takes 30 seconds and keeps every ratio exact.
How do you make Neapolitan pizza dough step by step?
Ingredient weights for two dough balls
- 500 g Tipo 00 flour (Caputo Pizzeria or King Arthur 00)
- 325 g water at 65°F–68°F
- 14 g fine sea salt
- 0.4 g instant yeast (or 0.5 g active dry, dissolved)
Mixing sequence (AVPN method)
- Dissolve the salt completely in all 325 g of water in a large bowl.
- Add roughly 50 g of flour (10% of total) and stir until a loose slurry forms.
- Add the yeast to the slurry and stir to combine.
- Add the remaining 450 g of flour in two or three additions, mixing with one hand or a dough scraper until no dry flour remains.
- Turn the dough onto an unfloured surface and knead for 15–20 minutes by hand, or 8–10 minutes in a stand mixer with a dough hook on medium-low.
- The dough is ready when it is smooth, slightly tacky but not sticky, and passes the windowpane test (see Section 4).
- Form into a single ball, cover with a damp cloth or plastic wrap, and rest for 15 minutes.
Two fermentation timelines
| Stage | Timeline A: Same-day (room temp) | Timeline B: Long cold ferment |
|---|---|---|
| Mix and knead | 20–25 min | 20–25 min |
| Bulk rest (room temp) | 2 hours at 70°F–75°F | 1 hour at 70°F–75°F |
| Divide and ball | After bulk rest | After bulk rest |
| Cold retard | None | 24–72 hours at fridge temperature |
| Final proof (room temp) | 6–8 hours at 70°F | 2–4 hours before baking |
| Total time | 8–10 hours | — |
Timeline B produces noticeably better flavor. Long cold fermentation develops organic acids and complex flavor compounds that a same-day dough simply can’t replicate. If you have the time, start the dough two days before you plan to bake.
How do you mix, knead, and control dough temperature?
Hand mixing vs. stand mixer
Hand mixing gives you direct tactile feedback, which is genuinely useful when you’re learning. Start by squeezing the dough through your fingers to incorporate flour, then switch to a push-and-fold motion once it comes together. A stand mixer with a dough hook does the same job in half the time and is easier on your hands for larger batches. Either way, the goal is the same: a smooth, cohesive dough with well-developed gluten.
An autolyse (mixing flour and water only, resting 20–30 minutes before adding salt and yeast) can improve extensibility, especially with bread flour. It’s not required for 00 flour at 65% hydration, but it shortens active kneading time.
The windowpane test
Pinch a small piece of dough and gently stretch it between your fingers. If it stretches thin enough to see light through without tearing, gluten development is sufficient. If it tears immediately, knead for another 3–5 minutes and test again. This is the single most reliable indicator of dough readiness, more useful than any time estimate.
Pro Tip: If your dough feels tight and keeps snapping back during kneading, cover it and rest for 10 minutes. Gluten relaxes quickly, and you’ll get more done in the next 5 minutes of kneading than you would fighting a tense dough.
Controlling dough temperature (Td)
Target Td of 73°F–77°F after mixing. A dough that finishes warmer than 80°F will ferment too fast; cooler than 70°F and fermentation will be sluggish. The simplest adjustment: use cooler water in a warm kitchen, warmer water in a cold one. A probe thermometer takes the guesswork out of it entirely. Hydration and kneading technique set the balance between extensibility and elasticity; overworking a warm dough destroys the gluten structure you just built.
Quick readiness checks:
- Stickiness: Slightly tacky, releases cleanly from your hand with a gentle pull. Sticks aggressively = too wet or underworked.
- Smoothness: Surface looks like soft leather, no rough patches or dry streaks.
- Extensibility: A small piece stretches 4–5 inches without tearing before the windowpane test passes.
How do you bulk ferment, shape, and proof Neapolitan dough?
Bulk fermentation and portioning
After mixing, bulk ferment at room temperature until the dough has grown by roughly 50–75% and feels airy when you press it gently. At 73°F–75°F, that takes about 2 hours for Timeline A. For Timeline B, a shorter 1-hour bulk rest before cold retard is enough; the refrigerator does the rest of the work.
AVPN guidelines specify dough ball weights of 200–280 g for pizzas between 22–35 cm in diameter. For a 12-inch home pizza, 260–270 g is the sweet spot.
| Ball weight | Target pizza diameter |
|---|---|
| 260–270 g | 11–12 inches |
| 270–280 g | 12–13 inches |
Balling technique (mozzatura style)
- Divide the bulk dough into two equal pieces using a bench scraper. Weigh each piece.
- Cup one piece in your hand and tuck the edges under repeatedly, rotating the ball, until the surface is taut and smooth.
- Roll the ball gently on the counter to seal the seam at the bottom.
- Place each ball seam-side down in a lightly oiled container or on a floured tray, spaced well apart.
- For cold retard: cover tightly with plastic wrap or a lid and refrigerate for 24–72 hours.
- For same-day: cover with a damp cloth and proof at room temperature for 6–8 hours.
Pro Tip: Individual airtight containers (deli quart containers work perfectly) prevent the balls from drying out and make it easy to pull one at a time from the fridge without disturbing the others.
Warming and stretching
Remove cold dough from the refrigerator 2–4 hours before baking. Cold dough is nearly impossible to stretch without tearing. Once the ball feels soft and slightly puffy at room temperature, it’s ready.
To stretch: press your fingertips into the center of the ball, pushing outward toward the edge. Never touch the outer 1 inch of the rim — that’s where the cornicione lives. Once you have a 6–7 inch disc, drape it over your knuckles and rotate slowly, letting gravity do the stretching. No rolling pin, ever. A rolling pin crushes the air pockets built up during fermentation and produces a flat, dense crust.
How do you bake Neapolitan pizza in a home oven?
A wood-fired oven hits 430–480°C and bakes a pizza in 60–90 seconds. Your home oven maxes out around 500°F–550°F (260°C–288°C). That’s a real gap, but the right equipment and technique get you much closer than you’d expect.
| Method | Surface temp | Bake time | Notes |
|---|---|---|---|
| Wood-fired oven | 430–480°C | 60–90 sec | Authentic; not home-accessible |
| Baking steel (500°F+) | ~450°F surface | 5–7 min + broil | Best home option; retains heat well |
| Pizza stone (500°F+) | ~430°F surface | 5–8 minutes | Good char; slower heat recovery |
| Broiler only | 500°F+ | 4–6 min | Fast top char; watch closely |
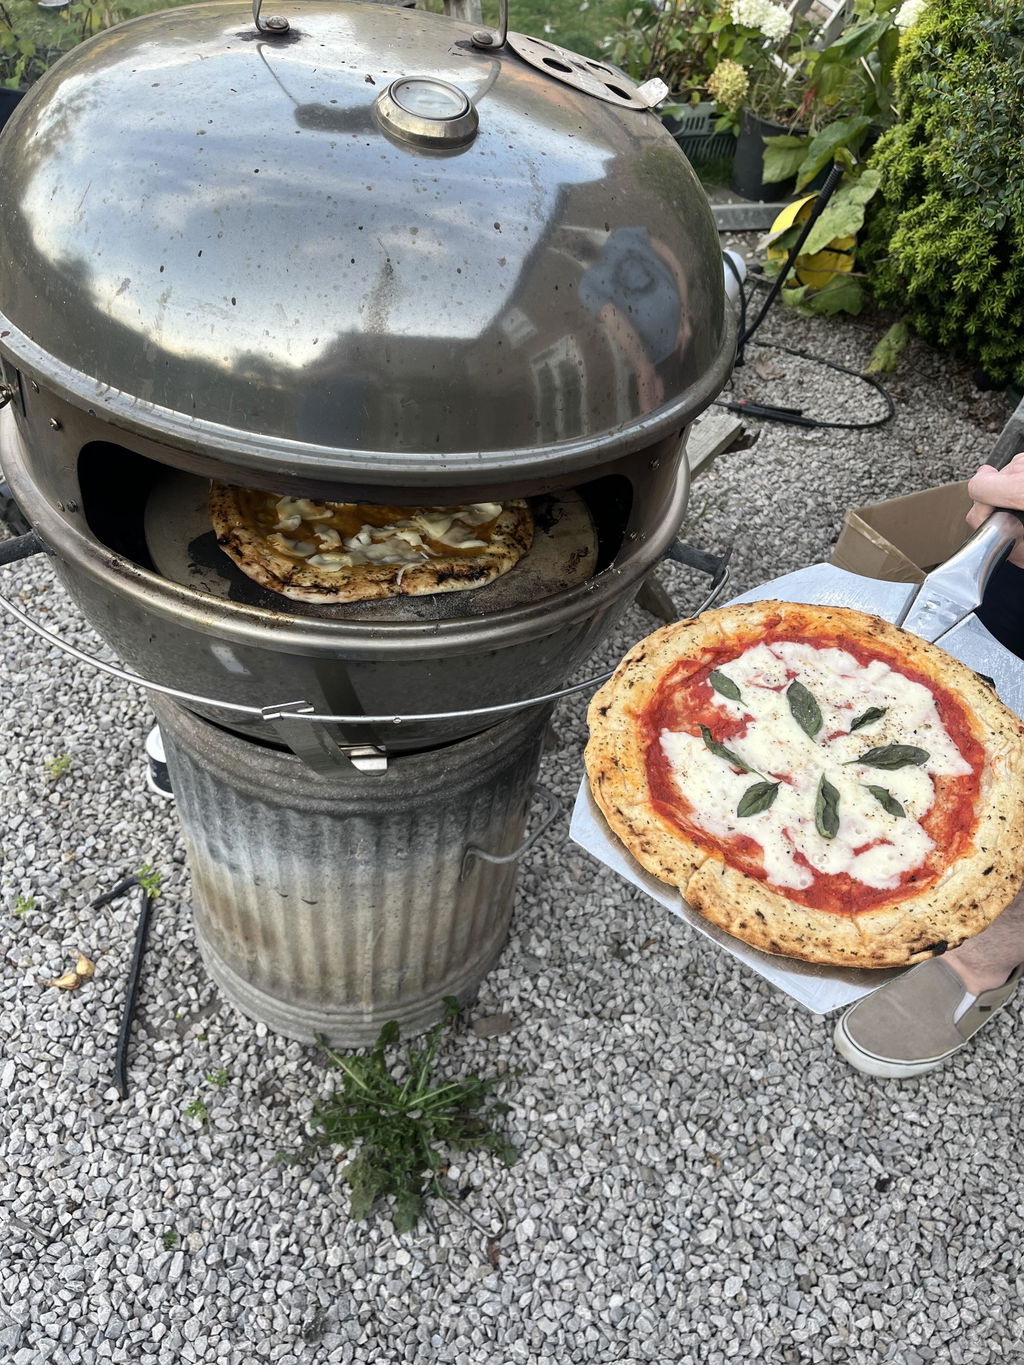
| Gas grill (lid closed) | 500°F–550°F | 5–8 min | Excellent char; harder to control |
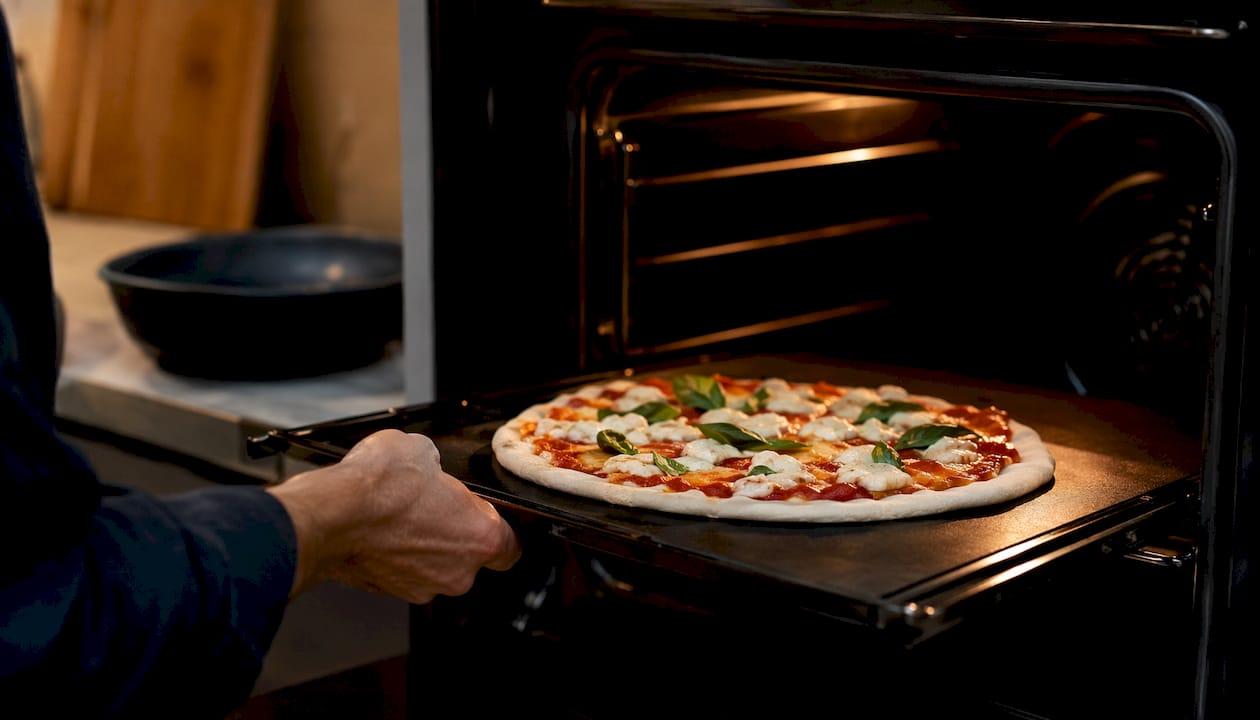
A baking steel outperforms a pizza stone because steel conducts heat to the dough faster. Preheat it on the top rack for at least 45–60 minutes at maximum oven temperature. Professional chefs recommend sliding the pizza onto the steel, baking for 4–5 minutes, then switching to the broiler for the final 60–90 seconds to blister the top.
Pro Tip: Place your baking steel on the second-from-top rack, not the very top. This gives the broiler enough distance to char the cornicione without burning the cheese before the bottom cooks through.
Additional techniques that help:
- Preheat for a full hour, not 20 minutes. The steel or stone needs to be fully saturated with heat.
- Use a pizza peel dusted with semolina flour for a clean, fast launch. Semolina acts like ball bearings.
- If your oven has a convection setting, use it during the preheat to heat the steel faster, then switch to conventional bake when the pizza goes in.
- A thin pizza with minimal toppings bakes faster and gets better char. Overloaded pizzas steam instead of bake.
What to realistically expect: you’ll get excellent flavor, a proper cornicione, and good leopard spotting on the underside. The 90-second char of a true Neapolitan bake is hard to replicate without a dedicated pizza oven, but the difference in taste is smaller than the difference in appearance.
What are the most common Neapolitan dough mistakes and how do you fix them?
Most problems trace back to three causes: wrong flour, rushed fermentation, or rough handling. Here’s how to diagnose and fix the most common ones.
- Dough tears when stretching: Underproofed or too cold. Cover and rest at room temperature for 30–60 minutes, then try again. Never force a cold, tight dough.
- Dough is too sticky to handle: Either too much water or underworked gluten. Dust your hands lightly with flour and continue kneading. Avoid adding large amounts of flour, which throws off the hydration ratio.
- No oven spring or flat cornicione: Usually caused by overproofing (the dough has exhausted its gas) or using a rolling pin. If the dough smells very sour and feels slack, it’s overproofed. Use it anyway but bake immediately; next time, shorten the final proof.
- Dense, bready crumb: Wrong flour (low W-value) or insufficient fermentation time. Switch to Caputo 00 or King Arthur 00 and extend the cold retard to at least 48 hours.
- Overly salty or bland crust: Weigh your salt. At 2.8% (14 g per 500 g flour), the flavor is balanced. Eyeballing salt is the fastest way to ruin an otherwise good dough.
- Yeast contact with salt: If you added them together, the dough may ferment sluggishly. Follow the AVPN order: salt in water first, then flour, then yeast.
Pro Tip: Before remaking a batch from scratch, try the 30-minute rest fix for tears and the room-temperature warm-up for stickiness. Most dough problems are recoverable without starting over.
The single most common mistake among home bakers is rushing fermentation. A same-day dough is edible; a 48–72-hour cold-retarded dough is genuinely delicious. The difference is not subtle.
What tools and ingredients do you need for authentic results in the U.S.?
Essential tools
- Digital kitchen scale: Non-negotiable. Weighing ingredients with a digital scale is the single most reliable way to get consistent results. Small variations in hydration or salt change the dough’s behavior significantly. A basic OXO or Escali scale costs under $30 and pays for itself the first time you nail the recipe.
- Baking steel: The Baking Steel brand (original, 1/4-inch thick) is the gold standard for home ovens. It retains and transfers heat faster than any stone and is nearly indestructible.
- Pizza stone: Brands like FibraMent or the Old Stone Oven Baking Stone are solid options if you prefer stone. Thicker is better for heat retention.
- Pizza peel: A wooden peel for launching, a perforated metal peel for retrieval. The perforations let excess flour fall through so it doesn’t burn on the steel.
- Bench scraper: For dividing dough cleanly and moving it without tearing.
- Instant-read or probe thermometer: For checking water temperature and Td.
- Deli quart containers: For proofing individual dough balls in the fridge.
U.S.-available flour and yeast options
Caputo “00” Pizzeria flour (blue bag) is the most widely used Tipo 00 in American pizzerias and home kitchens. Its W-value sits in the AVPN-recommended 260–270 range, it’s available on Amazon and at most restaurant supply stores, and it behaves predictably across a wide range of hydrations. King Arthur 00 Pizza Flour is a strong domestic alternative with consistent protein content and wide retail availability. For yeast, SAF Instant Yeast (the red label, 1 lb brick) is the most cost-effective and reliable option; store it in the freezer after opening and it lasts for years.
Buy the scale and the flour first. Everything else is secondary. A good dough baked on a sheet pan beats a mediocre dough baked on a $200 steel every time.
Why does long fermentation make Neapolitan pizza taste better?
The AVPN’s disciplinare places time-based maturation at the center of authentic Neapolitan pizza. This isn’t tradition for tradition’s sake. During a long, cool ferment, enzymes break down proteins and starches in the flour, producing flavor compounds (organic acids, esters, alcohols) that a fast, high-yeast dough never develops. The result is a crust with a complex, slightly tangy flavor and a texture that’s simultaneously airy and chewy.
The biochemical case for patience: Proteolytic enzymes weaken gluten bonds just enough to make the dough extensible without making it fragile. Amylase converts starches to sugars, feeding the yeast slowly and producing CO₂ that inflates the cornicione. The organic acids produced during fermentation lower the dough’s pH, which strengthens gluten structure and contributes to the characteristic leopard spotting under high heat.
The W-value of 260–270 matters here because a weaker flour can’t hold the gas produced during a long ferment. Generic all-purpose flour at W-value below 200 will over-relax and lose structure before it ever reaches the oven. The balance between extensibility and elasticity is mostly set by hydration percentage and flour strength. Get those two variables right and shaping becomes much easier.
Key fermentation facts:
- Long cold retards (24–72 hours) produce more flavor compounds than short room-temperature proofs.
- Very small yeast quantities (0.4 g instant per 500 g flour) prevent overproofing during extended fermentation.
- The 48-hour fermentation benefits include improved extensibility, better oven spring, and a more complex flavor profile compared to same-day dough.
Key Takeaways
Authentic Neapolitan pizza dough requires Tipo 00 flour at W-value 260–270, 65% hydration, minimal yeast, and at least 24–72 hours of cold fermentation for the flavor and structure that define the style.
| Point | Details |
|---|---|
| Use the right flour | Caputo 00 or King Arthur 00 at W-value 260–270 gives the gas retention and extensibility the recipe needs. |
| Weigh everything | A digital scale eliminates guesswork; small hydration or salt errors change the dough’s behavior significantly. |
| Cold ferment if possible | A 24–72 hour cold retard produces better flavor, oven spring, and cornicione than any same-day method. |
| Never use a rolling pin | Hand-stretching preserves the air pockets built during fermentation; a rolling pin crushes them flat. |
| Maximize oven heat | Preheat a baking steel or pizza stone for 45–60 minutes at 500°F and finish under the broiler for best char. |
| Doughdorks ready-made option | Doughdorks’s 48-hour fermented dough balls follow the same proportions and fermentation approach for when you want authentic results without the wait. |
Pro Tip: If you can only do one thing differently from your current method, switch to a 48-hour cold ferment. It requires no extra skill, just planning ahead, and the flavor improvement is dramatic.
Home ovens can get you closer than you think
The honest truth about home Neapolitan pizza is that the oven is the hardest variable to control, and it’s also the one that matters least to the final flavor. A wood-fired oven at 450°C produces a specific kind of char and a 90-second bake that creates textural qualities you genuinely cannot replicate at home. The cornicione won’t blister quite the same way. The underside won’t have that exact combination of crunch and chew you get from a stone floor at extreme heat.
But here’s what doesn’t change: the flavor of a properly fermented, properly hydrated dough made with good 00 flour. That’s almost entirely a function of your ingredients and your patience, not your oven. A 48-hour cold-retarded dough baked on a well-preheated steel at 500°F produces a pizza that most people, eating it blind, would describe as restaurant quality. The cornicione puffs. The crumb is open and airy. The crust has depth and a slight tang that a fast dough never achieves.
Where home bakers tend to go wrong is chasing the oven upgrade before they’ve dialed in the dough. A $300 pizza steel won’t fix underfermented dough. Get the recipe right first, then worry about equipment. The two-timeline approach in this article gives you a same-day option for weeknights and a proper 48-hour method for when you want to impress. Test one ball before committing to a full batch. Adjust hydration by 2–3% if your flour absorbs differently. Keep notes. The dough improves every time.
Skip the wait when you need great dough tonight
Making Neapolitan dough from scratch is deeply satisfying, and the recipe above gives you everything you need. But there are nights when a 48-hour ferment isn’t in the cards. That’s exactly where Doughdorks comes in.

Doughdorks’s 48-hour fermented dough balls are made with Italian 00 flour, fresh yeast, and extra virgin olive oil using the same long-ferment approach this article recommends. You skip the mixing, kneading, and two-day wait, and go straight to shaping and baking. For larger batches or regular pizza nights, the ready-made box of 8 keeps your freezer stocked. If you want to skip the baking step entirely, the pre-cooked Neapolitan bases are ready to top and finish in minutes. Browse the full range and place your order at Doughdorks.
Useful sources and further reading
These are the primary sources used throughout this article, each worth bookmarking for deeper reference.
- AVPN — Ricetta Pizza Napoletana: The official recipe and process guidelines from the Associazione Verace Pizza Napoletana. The authoritative source for ingredient ratios, mixing order, ball weights, and baking temperature.
- AVPN Disciplinare 2022: The full regulatory document governing authentic Neapolitan pizza. Covers flour W-value requirements, fermentation philosophy, and the biochemical rationale for time-based maturation.
- Napo — AVPN Authentic Neapolitan Recipe: A clear, step-by-step translation of the AVPN mixing sequence, particularly useful for understanding why salt and yeast must never come into direct contact.
- Nick’s Kitchen — Neapolitan Pizza Recipe: A tested home-oven adaptation using Caputo 00 and a preheat-plus-broil method. Good practical reference for baking steel and broiler technique.
- Serious Eats — Basic Neapolitan Pizza Dough: Reliable guidance on long cold fermentation timelines and flour selection for home bakers.
- Italian Pizza Secrets — Authentic Neapolitan Dough: Practitioner perspective on hydration, extensibility vs. elasticity, and the importance of gentle handling during shaping.
For strict authenticity: consult the AVPN disciplinare directly. For ingredients and ready-made dough that follow the same approach, Doughdorks is a practical starting point for home pizza enthusiasts who want premium ingredients without sourcing them individually.
Recommended
- Authentic Neapolitan Pizza Dough Balls - Ready Made Box of 8
- 48-Hour Neapolitan Pizza Dough Balls (20 box) | Dough Dorks
- 48-Hour Double Fermented Ready Made Neapolitan Pizza Dough Balls (Box of 12)
- Italian Herb Neapolitan Pizza Dough Balls | Dough Dorks
Article generated by BabyLoveGrowth
READY-MADE • FROZEN • UK DELIVERY
Skip the mixing. Keep proper dough in your freezer.
48-hour fermented, individually proofed in their own pot and delivered frozen across the UK. Defrost, stretch, top and bake.
-
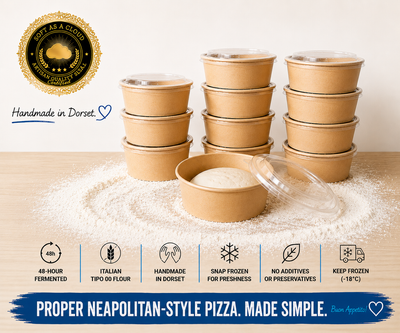 48-Hour Neapolitan-Style Pizza Dough Balls – Box of 12
£22.88
48-Hour Neapolitan-Style Pizza Dough Balls – Box of 12
£22.88
-
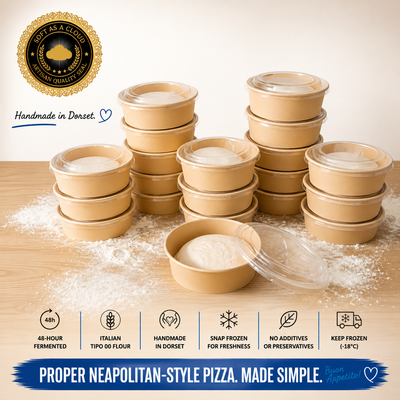 48-Hour Neapolitan-Style Pizza Dough Balls – Box of 20
£32.30
48-Hour Neapolitan-Style Pizza Dough Balls – Box of 20
£32.30
-
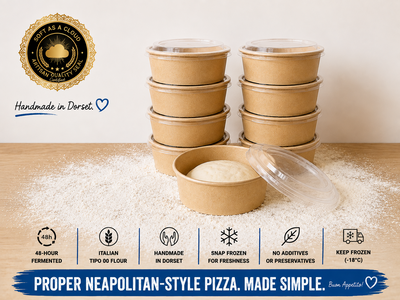 48-Hour Neapolitan-Style Pizza Dough Balls – Box of 8
£18
48-Hour Neapolitan-Style Pizza Dough Balls – Box of 8
£18
Handmade in Dorset • Free UK delivery over £50 • Free proofing pot with every dough ball